News

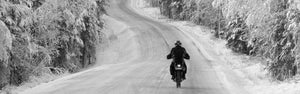
'Extreme' Winter Motorcycle Riding
I’ve lived in MinneSNOWta all my life, 35 years as a biker. Winter motorcycling isn’t particularly fun for me, even with crazy PMS (“Parked Motorcycle Syndrome”) right about now. But if you simply MUST ride a motorcycle in the winter, here are our top tips for doing so.
Clothing
Layer. Start with a long-sleeve base (such as Under Armor) that wicks moisture away from your body. Add an insulating layer (like fleece) and/or a heated vest with controller.
Your jacket is no place to skimp; get the best. Gore-Tex is popular for its breathability and waterproof features. Same with boots and gloves; add a neck warmer and a full-face helmet. Think like a snowmobiler but buy like a biker!
Motorcycle Prep
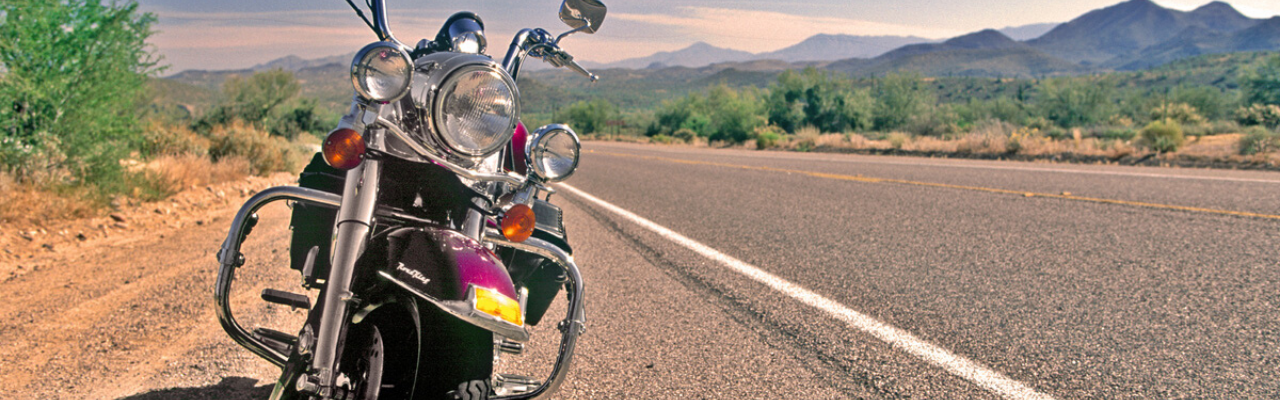
 A motorcycle windshield goes without saying here, and extras like the Desert Dawgs Rain/Wind Guards and motorcycle hand guards or muffs are a huge help as well. If you’re able to install heated grips, they’ll go a long way toward keeping your hands warmer.
If your bike is water-cooled, make sure the antifreeze is fresh and mixed properly and that all hoses are in good shape.
Tires: make sure you have awesome tread if you plan to ride in snow. Check your tire pressure, as it can change with temperature swings. Also, be aware that cold motorcycle tires offer less traction.
 Road Hazards
First, the obvious: if it even remotely looks like ice, stay away! If you live in an area that uses salt on the roads (like we do), be very cautious; it can cause you to lose traction (just like snow can).
Also remember that snow, salt, fluctuating temps and equipment like plows can really do a number on road surfaces. I swear some of the cracks and pot holes around here are big enough to swallow a motorcycle!
Visibility and Following Distance
During winter riding, look further down the road so you can recognize hazards before they occur, and/or react to a potential problem more quickly. And give the vehicle in front of you plenty of space. You might not have the same space available for stopping (or avoiding) due to less traction.
SNOW
Keep an eye on the forecast; if the weather folks are calling for multiple inches of snow, leave the motorcycle at home. And if you’re out riding and it starts snowing, get home. The white stuff can accumulate quickly and make for some seriously slippery conditions (even in a car).
If you’re really into winter riding, consider a snowmobile. Just kidding! (But you can buy studded snow tire kits here in the northland.) Riding a motorcycle in the winter can be challenging, but it can be done with the right attitude!
- Tracey Cramer
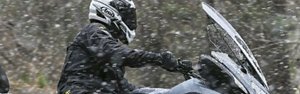
The Secret to Enjoying Cold Weather Rides
I saw a motorcyclist out riding this weekend. It was 42 degrees at the time.
It made me think about riding. More specifically, it made me think about riding in cold weather. Doing so can be less than enjoyable if you're not prepared. So what is the secret to enjoying cool weather rides?
Controlling wind chill!
When it's 40 degrees F and you're riding at 60mph (with no wind), the effective temp is only 25 degrees Fahrenheit (danger of frostbite in 30 minutes!). Check out the chart below showing just how much wind affects the ambient temperature.

Bundle up all you want, but if you can't get the wind off you, it's not a fun ride. Bundling up also makes it hard to operate the controls and isn't really all that effective if the wind is still getting through key spots on your body.
There is so much to say about this topic that we’ve broken it into several parts. In this post we’ll get started – from the top down (that would be your noggin for you southerners)…
Head
In cold weather, there’s no way to get around the most common-sense item: a full-face helmet. You can keep your half-helmet or 'beanie' helmet for warmer weather, but make the investment in a full-face helmet if you expect to ride in cold or wet weather. Our advice: get one with good venting.
For those who argue that their full-face helmet fogs up in the rain or cold, we have a solution for that (and it's less than $20): get yourself an Anti-Fog insert. Problem solved.
Neck
Yep, this deserves its own category. Because when it gets down into the 40’s and you're going 70 mph, you don't want ANY skin showing. A neck warmer or balaclava is just the ticket. It will also keep rain water from sneaking down your neck. Simple but effective!
- Tracey Cramer
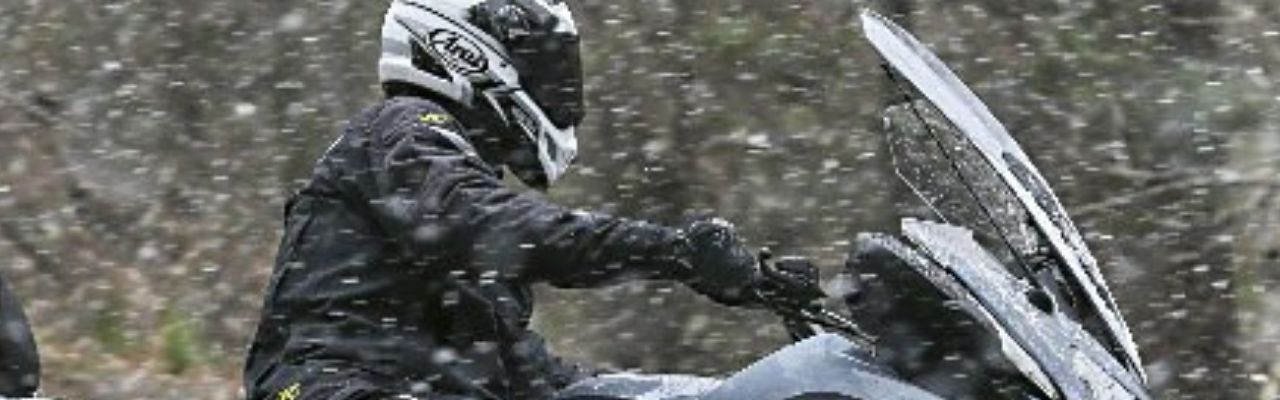
The Dreaded Updrafts: What to do About Them
One complaint we hear a lot is that updrafts come up under the windshield and blast the rider in the face. (In Minnesota we're usually concerned about COLD updrafts LOL.) If you can minimize updrafts, you’ll have more enjoyable riding not just later into the season (and earlier in the spring), but all season long.
The Desert Dawgs Rain Guards/Wind Deflectors do a fantastic job of repelling water away from your legs and feet if you happen to get caught in a rainstorm. But did you know they also reduce updrafts and helmet buffeting? Instead of air hitting your legs and being redirected up toward your face, the Desert Dawgs force the air out and around (rather than up).
The effectiveness of the Desert Dawgs (or any lower deflector for that matter) varies depending on the motorcycle itself as well as on the windshield. For instance, I’ve noticed certain OEM windshields (such as some of the Yamaha ones) result in more wind in my face than the Memphis Shades windshields I’ve had on two different motorcycles.
Factors that can affect wind flow (updrafts):
- curvature of the windshield
- angle of the windshield
- space between the windshield and the engine guard bar
- rider foot placement and height

They are quite possibly the easiest and least costly way to protect your body. And because they are a cinch to remove and store in a saddlebag, you don’t need to keep them on in warmer weather (although they have no temperature restriction and can be used in warmer temps).
Read more about the Desert Dawgs - and check out Tracey's video about "the little things" - right here!
- Tracey Cramer

Riding in the Rain: Get Visible
Related articles: It's About the Gear and Traction & Tactics
One key to being seen in the rain is visibility. Here are some simple steps you can take to be more visible when you ride in the rain.
#1: Bright Colors
Like many bikers, I love black and leather. But when it comes to riding in the rain, I want to be seen at all costs. After all, decreased visibility is one of the main contributors to accidents (rain or not!).
 The BEST idea is to get a bright-colored motorcycle. (In fact, some police departments and emergency services are going all-out in that regard)
But the reality is, most of us are NOT like this guy; we don’t want a neon green or bumble-bee yellow bike. I’ve never once chosen my motorcycle (in over 30 years) by the color, but rather by an intuitive desire, and I’d be willing to bet you’ve done the same.
So, the next best thing? Wear bright clothing. Take a tip from the construction industry: they wear yellow or orange to stay visible when working in a high traffic area. So why wouldn’t you do the same? If you don’t want a neon-colored riding jacket, then wear a reflective vest.
I love my red/white/blue reflective vest, but a yellow or orange vest is even better. They don’t have to LOOK like a construction vest, either - nowadays you can get very stylish vests.
#2: Extra lights
“Fog lights” aka auxiliary driving lights typically come in two varieties: lights that project a somewhat short but wide light pattern (a 30 to 35 degree spread is common) and lights that project a longer and narrower light pattern (20 degrees). Either type added to the front of your bike will make you more visible to traffic.
#3: Ride Defensively
Altering your position in the lane can make you more visible by creating an abnormal driving pattern (and light pattern) that car drivers are more likely to notice. A gradual shifting to the right and left also gives you more opportunity to spot upcoming traffic situations.
 Stay away from cars whenever possible, especially their blind spot. Many riders won’t turn their head before making a lane change, especially if they’re also trying to see through a rainy windshield. If you must pass, do it quickly and get into a situation where you’re better seen by all cars on the road.
Use your brake light as a blinker by tapping on the brakes several times in quick succession. This can catch the attention of a driver behind you and/or - heaven forbid - a tailgater (which this guy is apparently expecting)!
- Tracey Cramer
Motorcycle Travel: Dreamin’
Do you dream of life on the road, just you and two wheels (or three)? Places you’ve always wanted to go, but just haven’t made the time to visit? Start planning your motorcycle trip and make this the year you make it happen!
Planning a motorcycle trip can be daunting. Where do you begin? We all have places we’ve been daydreaming about. Pick one from your ‘bucket list’ today!
Pick the route
 The beauty of traveling on a motorcycle is that no one just “takes the freeway.” For some the point/goal is to pick roads they’ve never ridden on. Others look for scenic drives, roads with lots of curves (hooah!) or quaint towns they can explore along the way.
Google the words “scenic routes” and all kinds of things come up. Roadrunner Travel is a great resource when planning your trip. This website/magazine has tons of riding routes along with events and organized tours. Get out your “old-fashioned” map and peruse your route to see what towns and sights are near it.
If you’ve always wanted to see a landmark (say, Mount Rushmore or Niagara Falls) or tourist attraction (Disneyland?!), plan your route to take you through it (or by it).
Now that you’ve got an idea of where you want to go, what kinds of things should you consider? Check out this article (Part II of our travel series) for ideas!
- Tracey Cramer

Motorcyclist Beware: Nine Common Road Hazards
Road hazards are a common cause of motorcycle accidents. Things that have little effect on a car can cause a motorcycle to crash.
Motorcyclists should understand what constitutes a hazard, be alert for such dangers, and take precautions to avoid them. Here are some of the things bikers should be on the lookout for.
Rough roads
 We have a lot of these around our home base (which consists of county roads, a popular choice for bikers). Rough and bumpy roads happen due to disrepair, construction work, or resurfacing efforts.
Gravel
Gravel is possibly the trickiest hazard, at least for me (it has factored in two incidents in my riding history!). Unfortunately, gravel on pavement tends to be more common on winding roads, which are, of course, popular with bikers (and which require lots of cornering). Gravel can be particularly troublesome if encountered during cornering -- and especially dangerous for riders going too fast, or riders who haven’t done a lot of cornering yet.
Edge breaks
An edge break is when two traffic lanes are different heights. (These are common here in Minnesota, where we have two seasons: ‘winter’ and ‘road construction’!) Edge breaks are a piece of cake in a car, but can be problematic for unsuspecting bikers, especially at higher speeds - and especially if you’re forced to ‘side step’ over them (try to get as straight-on as you can).
Expansion & Bridge Joints Expansion joints connect two sections of a road together, or a section of a road to a bridge. Bridge joints hold sections of a bridge together. Both allow the road or bridge to expand or contract without cracking.
We have a bridge over the St. Croix River on a route along the MN/WI border that I love to ride. This bridge always makes me tense because it has everything a biker dislikes: expansion joints and open bridge joints that are really wide (ever get that ‘grid’ feeling when riding across a bridge?!). This particular bridge can be slick even on a sunny day, especially if it’s humid.
Animals
Ah, yes, another one we have to be aware of here in the land of deer, raccoon and even possum! Hitting a small animal can throw a motorcycle off path and/or off balance. Unfortunately, animals that run into the road are difficult to anticipate and swerving to avoid them can cause an accident as well. I once hit a pheasant that ‘flushed up’ behind the bike I was following.
It goes without saying that hitting a large animal (like a deer) could really mess up a rider (or worse). On a trip to Colorado, I was following my dad when he hit a deer. He managed to stay upright but his entire fairing and all his lights were crumpled. (The deer faired even worse.)
Slick surfaces
Slippery surfaces that you might not even notice in a car can be problematic for a motorcyclist. The unstable nature of a two-wheeled bike and the smaller, lighter size mean that sliding on the road can easily result in a crash. Slick surfaces are even more dangerous when the biker is turning. The list of potentially slippery objects/surfaces is long but includes:
- Leaves
- Crosswalk Lines
- Tracks
- Any painted surfaces
- Anti-freeze or oil
Rain/Water
 Bikers must also be cautious of rain after a dry spell. Dust, dirt and oil on the road combine with water to form a slippery layer.
The first half hour of a rainstorm is the most dangerous time to ride on the road. Standing water can cause hydroplaning. And though some of you reading this don’t have to deal with snow and ice, here in Minnesota we do! Personally, I try not to ride in it, but if you must, see our blog post for winter riding tips.
Railway tracks and crossings
Motorcycle tires can get caught in a railway track, causing a crash. Some railway crossing areas have metal or wood between the tracks, which become extremely slick when wet.
Debris or objects in the road
Debris or objects in the road, such as parts of tire treads, things fallen from trucks (furniture, tools, boxes), branches, or rocks, are more hazardous to motorcycles than cars. Not only can they cause a crash, but the object itself can hit and seriously harm the rider.
If this all sounds a bit overwhelming, take a deep breath. With a little caution you can retain your joy of riding while staying safe!
Also see: Eight Tips for Defensive Riding
- Tracey Cramer